|
|
|||||
|
It's All About the Light — Using Photoshop's Luminosity Mask
Article by Jeanette Smith
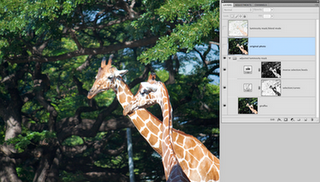
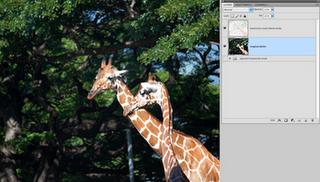
First, you should know what luminance is; it's the amount of light passing through a particular area of an image. Measured in a range from zero to 255 in an 8-bit image, it is expressed as red, green and blue channels of light. Adjusting the luminance, by taking a selection from the image itself, is great because it creates a natural gradation, based on the intrinsic brightness of the image. Why? Because every pixel is affected in exact proportion to its native brightness. This technique works nicely, for example, when the sky is overexposed or the foreground underexposed. Load the luminosity as a selection in Photoshop CS4 in one of two ways:
You may also inverse the selection, Select > Inverse, or type on your keyboard, Command+Shift+I, to apply an adjustment to the opposite areas of the image. Then travel to the Layers Palette and apply a Levels or Curves Adjustment Layer to the layer that needs correcting.
Give this a try and make your images really POP! To learn more creative techniques in Photoshop CS4, enroll in one of our digital darkroom classes or outdoor workshops at Aperture Academy, or come in for some private tutoring. Hope to see you soon! |
How-to Guides
• Better Landscape Photography POST-PROCESSING TIPS Photographer Spotlight Interviews
Meet All Our Instructors
You will be learning from only the best! |
|
 |
Other Cool Stuff→ Past Workshop Photos → 72dpi.com → How-To Articles → Photographer of the Month |
 |
Contact Us→ Contact Us → About Us → Site Map |
© 2009-2024 Aperture Academy, Inc.
 We thought we would share some of our Photoshop and image processing tips on the blog, so for this entry, I'm going to show you how to create a "Luminosity Mask" in Photoshop CS4.

 You can use this technique for color adjustments, too.


