|
|
|
|||||

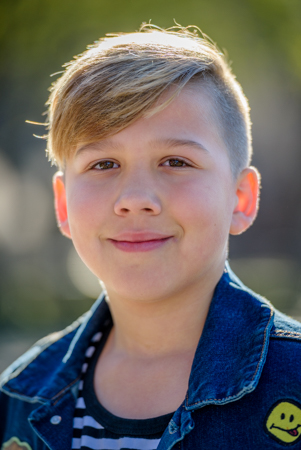
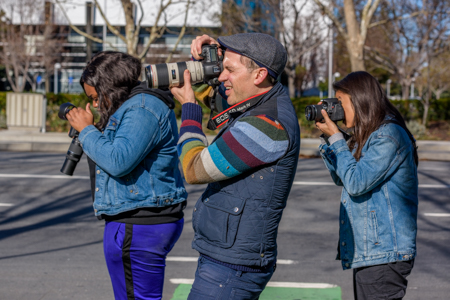
Perfect Portraits and Processing is the class that combines two of my favorite topics in photography: people and editing. On Saturday morning, I, along with a group of five aperture academy students, went through the process of photographing portraits, uploading, editing, and finalizing. We started class with a review session of exposure settings, focus modes, types of lenses, and composition. The students had a great understanding of their cameras, so I was excited to get them out in the field to photograph our model, Andon.
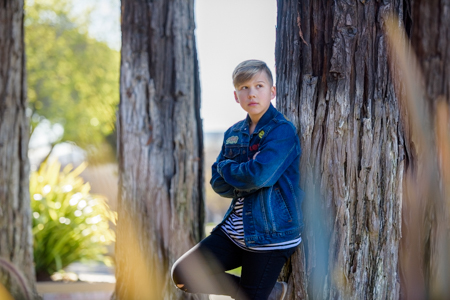
We were greeted with the nice, yet harsh morning sun, and right away our attention turned to lighting. Positioning is key when dealing with harsh light, and it is our jobs to eliminate the unflattering shadows. We worked mostly with backlighting and practiced shading our lens if we wanted to minimize lens flare. Afterwards, I let the students work with positioning Andon in an environment that wasn’t exactly the most exciting.
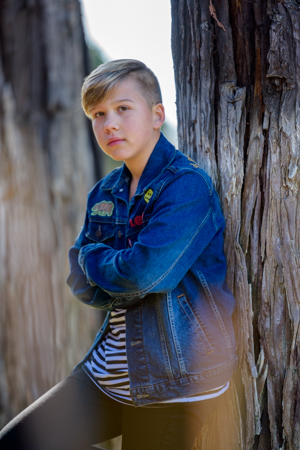
While Andon was a natural model, sometimes it helps when we have our subjects in a relaxed position. We had him sitting casually on some steps and decided to shoot at a low angle. Low angles may not be the most flattering for formal portraits, it works for a more dramatic, fashion look––which Andon was totally rocking! He had this confidence and “swag” (and my high school students would say) that really shined though in photos.
 Andon’s energy was contagious as well––and we used that to our advantage to practice focus modes. Capturing a moving subject is always difficult, but with the right focus settings, we can always walk away with some pretty sharp images. We had Andon run while we set our cameras to continuous focus, but when he jumped, I had the students revert back to single focus. The purpose of switching between to continuous focus is so when the subject leaves the focal plane, our camera adjusts, but when someone jumps, they are technically still in the same plane of focus.
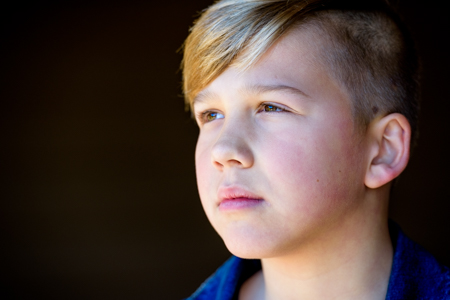
We finished our photoshoot with framing while still positioning based on light. I love how students take initiative in the PPP class and jump right in with directing the model. It was my turn to be the assistant! I used a diffuser to shade the model when working under spotty light, and then converted the diffuser back to the reflector to add some fill light to Andon’s face. Everyone walked away with some pretty amazing shots, but we still had to make them even better!
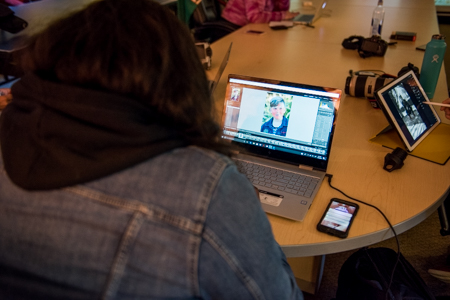
After uploading and coming back from lunch, the students and I began our editing in Lightroom. The first thing we went over is organization and workflow. Being able to find all your photos and cull them down quickly is so crucial. We started by rating our photos and then viewing just the ones we rated as acceptable. Once we had the photos we wanted, we moved onto a universal edit that applies to all photos: lens correction. We started with enabling lens correction on our first photo (being mindful to fix the distortion but keep the vignette, because it is a setting that can be synced with the rest. Lightroom’s ability to sync settings across multiple photos is why it is so much more effective than photoshop.
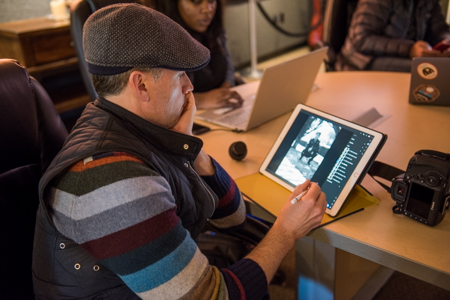 We went through the basic edits of color and tonal correction, and I stressed how everyone’s editing style is different. While I tend to lean more toward high key images, that might not be what the next photographer likes. The key is to know your style and exactly how to get it. We also practiced using the tonal curve to bring in our shadows and highlights—achieving fade look that is so popular at the moment.
Local adjustments may not be Lightroom’s strongest feature, but for portraits, it can actually play a useful role. By masking the everything except the model’s skin, we were able to control how much we wanted to soften it without affecting anything else. This also applied to teeth whitening and eye enhancing features. At the end, we were able to see how a little goes a long way in portrait editing!
My favorite part of teaching the editing process is the little tips and tricks that the students are in awe over. From selecting multiple images all at once in the importing process, all the way to creating a standard preset for exporting, a small tip can save so much time in the overall workflow. There was so much talent sitting before me, and as the students got ready to leave, I encourage them one last time to continue practicing their skills. I’m looking forward to great things coming from this group!
Until next time,
Mary and the rest of the Aperture Academy Team
If you'd like to join us at one of our workshops, you can find the schedule/sign up here.
 |
 |
 |
 |
 |
 |
 |
 |
 |
 |
 |
 |
 |
 |
|
 |
Other Cool Stuff→ Past Workshop Photos → 72dpi.com → How-To Articles → Photographer of the Month |
|
Contact Us→ Contact Us → About Us → Site Map |
© 2009-2024 Aperture Academy, Inc.