|
|
|
|||||
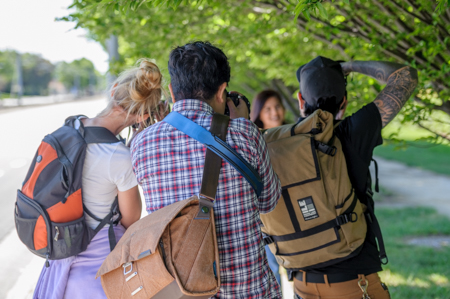
Portrait photography relies heavily on optimization. First, how do you optimize time and location when you are out photographing your model? Second, how to do optimize post-processing to bring out the best tones and colors? On Saturday morning, I, along with a small group of three students, focused on these two skills for the day. After going through a round of introductions, I quickly learned that these students were no strangers to photography. During our camera and exposure review, they quickly answered questions and impressed me with their prior knowledge. We were able to finish the review sooner than usual and spend more time outside photographing our model, Holga.
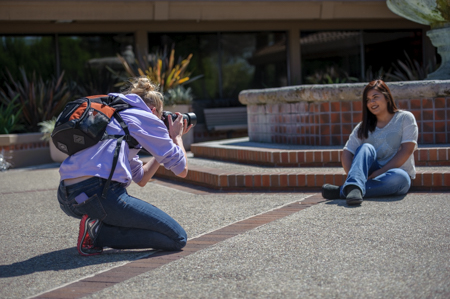
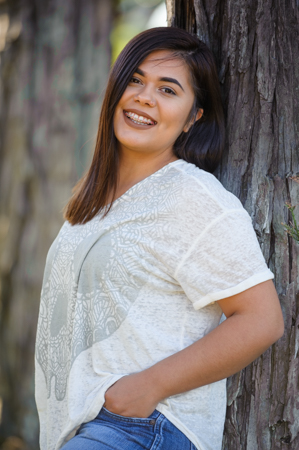
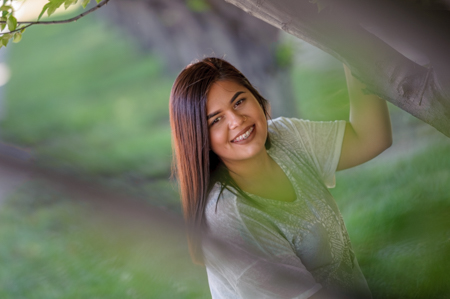
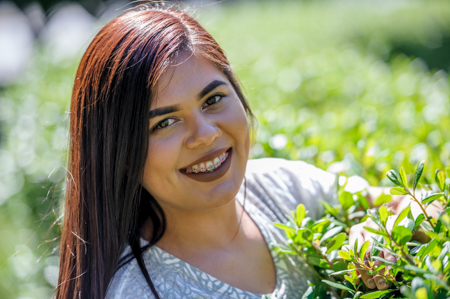
We first took some time to study sunlight, especially taking notice on how harsh shadows on the face was a problem. Direct sunlight created a unflattering high contrast, but when we backlit the model, that problem went away. The only issue with backlighting was making sure the camera didn’t underexpose the subject if the background was exceptionally bright. We worked with using exposure compensation along with shooting toward shaded areas to even out the exposure. That’s what we looked for next: an area with a workable background where the model can be backlight. Using our telephoto lens, we were able to place Holga next to a shady tree which not only had a good background, but also helped her relax as she was able to lean most of her body weight against it.
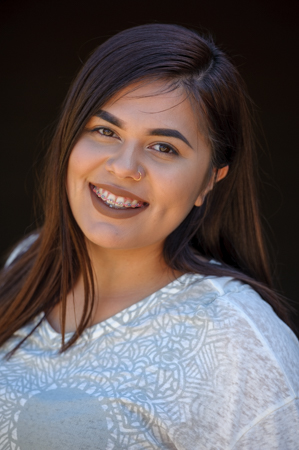
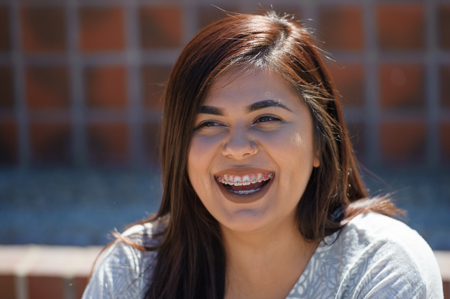
 Our next goal was to get some extreme close ups. Normally, framing the subject inside the borders of the image is essential, but when you are photographing a close-up and shooting landscape orientation, it is okay to cut off the top of the subject's head a bit. With head shots, there is a bit of technique in getting the most flattering look. I subbed in for Holga as the model in this session: getting rid of double chins and making your subject look slimmer. (Extra chin fat is one of the issues I'm most self-conscious about when I get my picture taken.) The key is to tighten the jawline enough so that the light wraps around the face and gives it shape. I demonstrated by having students take a photo of just my head while I stand normally, and then taking the exact same shot when I craned my neck out toward them. The results were tremendous—and I tried not to beam with pride when one of the students commented, "Wow, look at the definition on the second shot!"
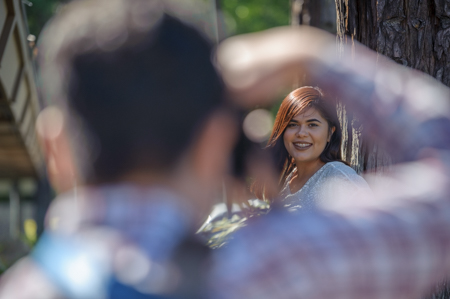
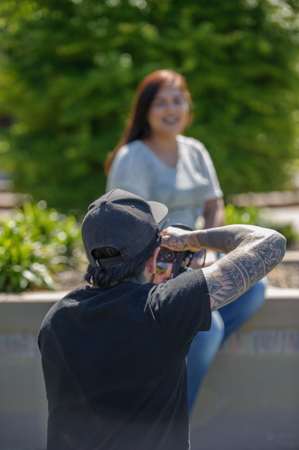
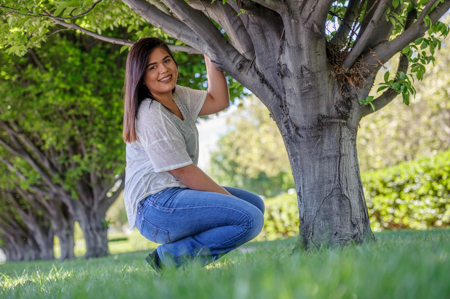
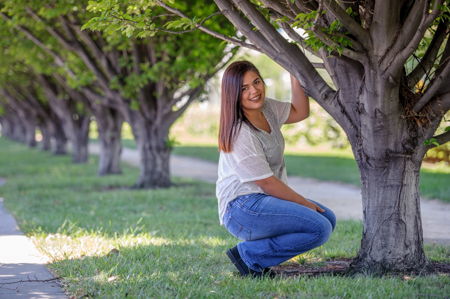
We continued to explore the area around the office and though the environment was not the most ideal for portraits, the students were still able to get some amazing shots. One setup in particular was my favorite: using trees to create a natural frame and leading line for the subject. At the end, we practice switching focusing modes and shooting continuous while Holga walked toward us, and it was just practice from there on out. I let the students direct Holga while I acted as their assistant and held the diffuser up to even out the light.
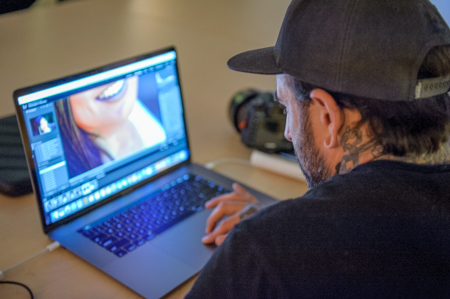
Before we knew it, we were uploading and breaking for lunch. I dashed to McDonalds for a quick bite, and then we were back and ready to continue with optimizing our photos in Lightroom. With portrait editing, sometimes less is more; editing is applied to enhance an already great shot, not to make a poorly taken photo better. With this in mind, I showed the students a simple way of organizing their images through the rating system in Lightroom. Afterwards, we were able to just focus on editing the few that we had rated as acceptable.
 The best feature of Lightroom (especially as a wedding photographer) is the ability to sync settings across multiple photos. We began by editing one image, making selective adjustments to the highlights and shadows first, and then bringing back contrast by adjusting our whites and blacks. Rarely do I ever adjust exposure unless it was not taken perfectly in camera or if it’s the occasion pop/mute toward the very end of my edit. We also went over the HSL settings where you can control each color independently—making it much more useful that the vibrance and saturation settings you would find under basic adjustments. After we finished our edits, we were able to sync them over to another image that was taken in the same light.
The bulk of our editing was focused on the little features Lightroom provides: how to crop properly, how to easily remove blemishes, and how to selectively edit. A main example is skin softening. So many times we are tempted to lower clarity because it gives the image such a soft and angelic look, but what is really happening is that you are also losing definition in the edges. So instead, we could use our local adjustment tool and first mask in the skin area we want affected, and when clarity is lowered, it will not affect facial features.
The lesson ended with connecting images in Lightroom to Photoshop and exporting them as viewable JPGs. It was quite an awesome day with these three photographers. They came in with so much knowledge and energy to learn, and it felt amazing to just give them a little extra push in what they were already so great at doing!
Until next time,
Mary and the rest of the Aperture Academy Team
If you'd like to join us at one of our workshops, you can find the schedule/sign up here.
 |
 |
 |
 |
 |
 |
 |
 |
 |
 |
 |
 |
 |
 |
 |
 |
|
 |
Other Cool Stuff→ Past Workshop Photos → 72dpi.com → How-To Articles → Photographer of the Month |
|
Contact Us→ Contact Us → About Us → Site Map |
© 2009-2024 Aperture Academy, Inc.