|
|
|||||
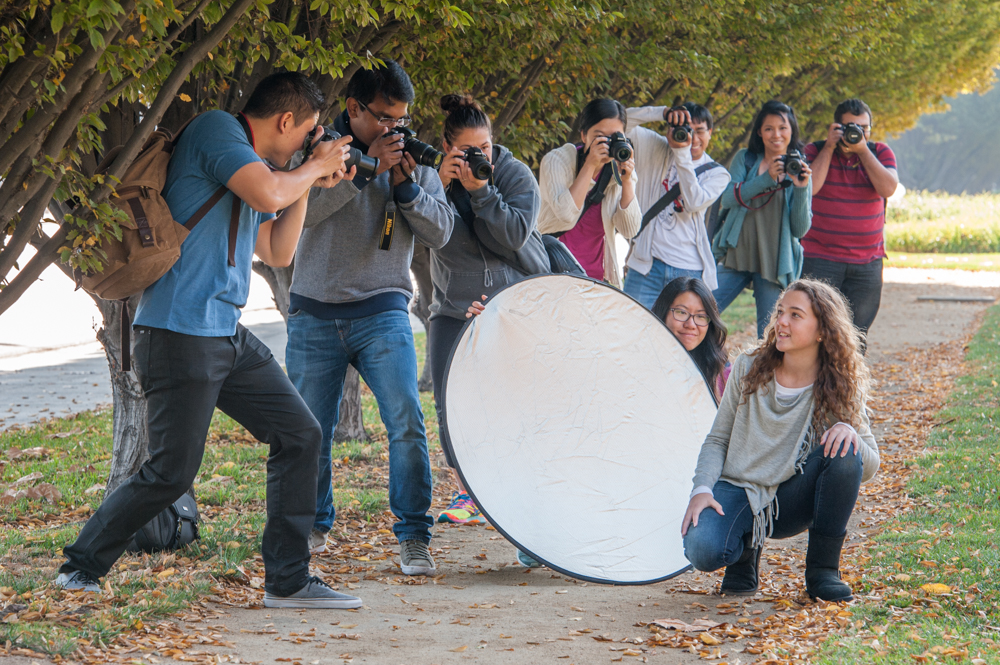
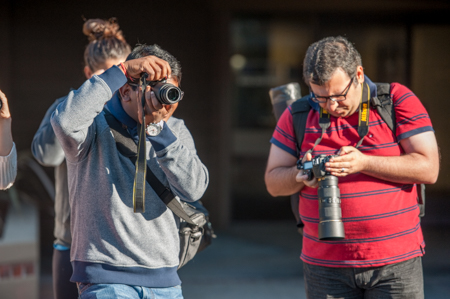
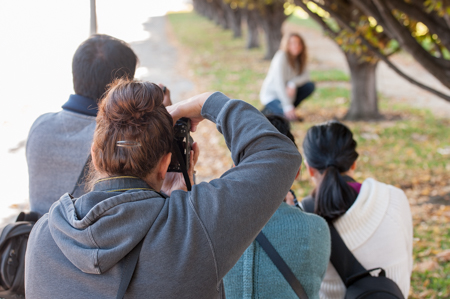
Sunlight. Whether it is diffused during overcast days, golden during sunset, or high and harsh during midday, it is the most common light source in portrait photography. As tricky as it is to photograph in sunlight, understanding how to work with it is essential in learning portrait photography. Seven students and I did just that on a crisp Saturday morning at Aperture Academy.
We started with our indoor review session—going over the exposure triangle and how ISO, shutter speed, and aperture affects your image. Having that strong foundation and understanding of the settings in your camera makes photographing people less overwhelming. It is one less aspect to think about when you trying to interact with your model. We also discussed using Aperture priority mode coupled with exposure compensation instead of going fully manual. Not having to constantly adjust your exposure will also allow you to focus more on your model.
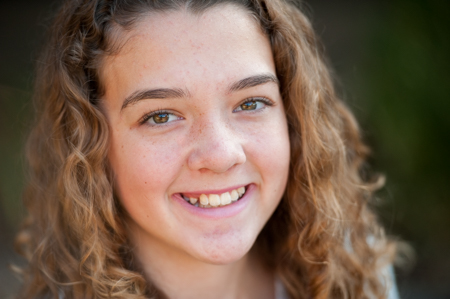
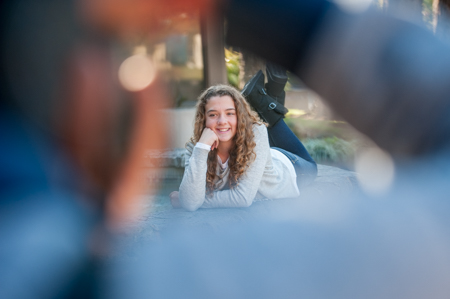
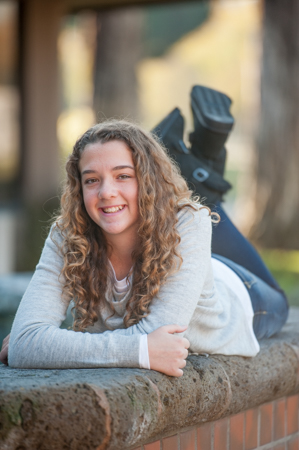
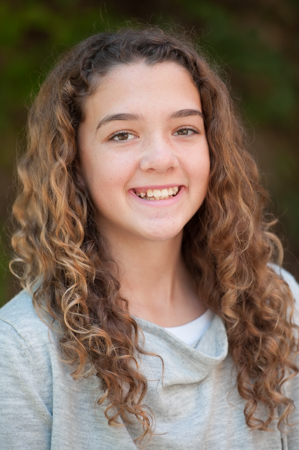
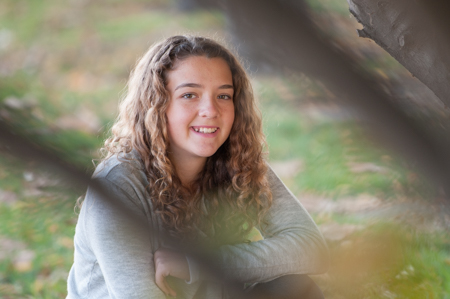
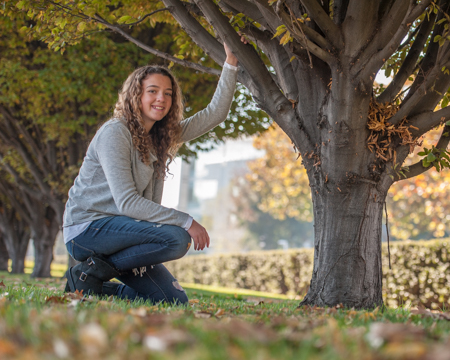
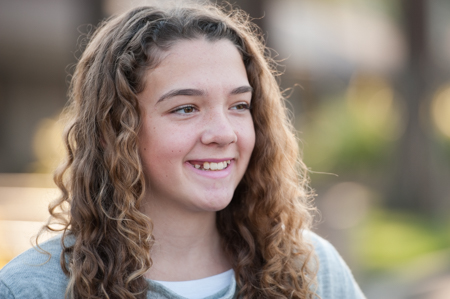
After our session, we headed outdoors to photograph our model for the day, Kayla. As we stepped out into the parking lot, the sun also peeked out behind the clouds. This was a perfect opportunity to have the students analyze direct lighting. While front lighting and side lighting caused issues like squinting and shadows, backlighting caused unwanted sun flares. Lucky for us, one of these issues can be resolved. By shading our lens, we can eliminate the sun flares and leave us with nice even lighting on the face. Next, we focused on finding a nice background. Being outside an office building, this could be quite difficult—but with a telephoto lens, all the unwanted mergers in the background can be avoided.
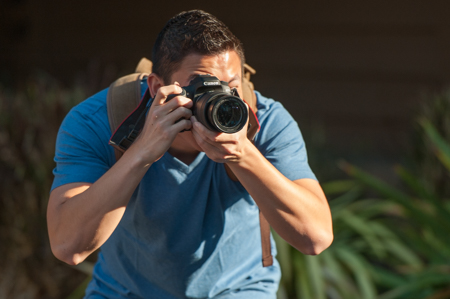
 The telephoto lens is probably the most underrated tool in portrait photography. With their telephoto lenses, the students were able to compress the image, bringing the background closer. Instead of having the office building, handicap signs, and other unwanted objects in the background, we were able to isolate and use just one bush. It was such a successful technique that one student even voiced how the secret to awesome backgrounds is “getting far away and zooming in.” Yes, yes it is.
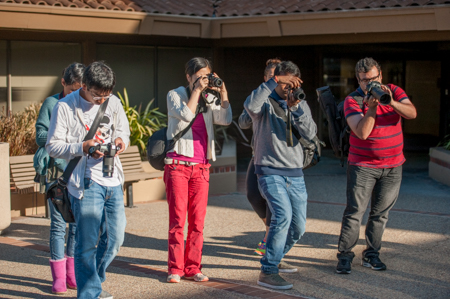
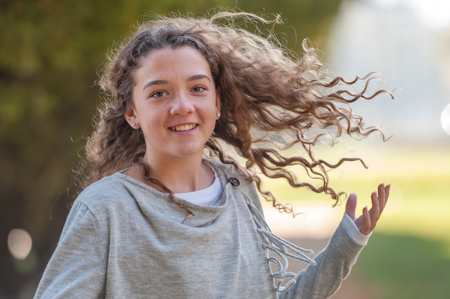
Our session ended with practice on autofocus. In order to focus correctly, we discussed and tested the differences between AF-S and AF-C (Nikon) and One-Shot and AI-Servo (Canon). While AF-S and One-Shot are more optimal for portraits since it allows us to focus, lock, and recompose, what happens if you are photographing a moving model? Three of my students wanted to learn how to get clear pictures of their kids, and for shots of the little ones moving, it would be wise to use AF-C or AI-Servo instead. This will tell the camera to continuously focus on the focal point; if your subject moves toward you, the focus will adjust for it. We practiced this with Kayla walking down a path toward us. The results were successful as everyone was able to get some crisp photos!
We ended with our group shot and the students were off to practice on their own. I got to say, this was one engaged and lively group, and I can’t wait to see what they do with all we learned today!
Until next time,
Mary and the rest of the Aperture Academy Team!
If you'd like to join us at one of our workshops, you can find the schedule/sign up here.
Leave & read comments below...
 |
 |
 |
 |
 |
 |
 |
 |
 |
 |
 |
 |
 |
 |
|
 |
Other Cool Stuff→ Past Workshop Photos → 72dpi.com → How-To Articles → Photographer of the Month |
 |
Contact Us→ Contact Us → About Us → Site Map |
© 2009-2024 Aperture Academy, Inc.
