|
|
|||||
Working with natural light always seems daunting at first because you feel like you have no control. Well guess what – you actually are able to try some tricks that will give you soft, even light, without a flash!
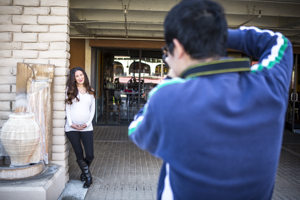
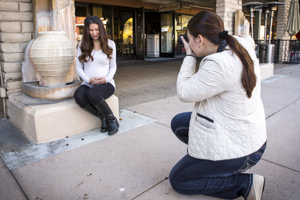
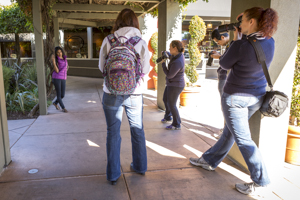
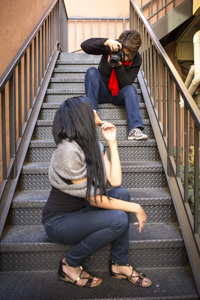
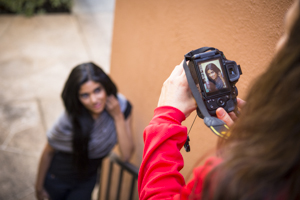
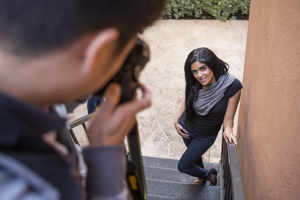
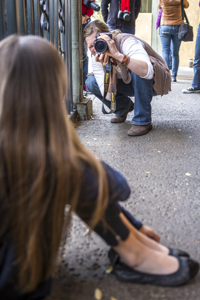
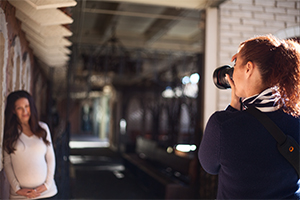
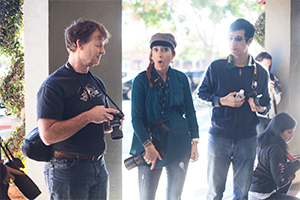
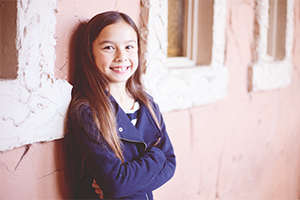
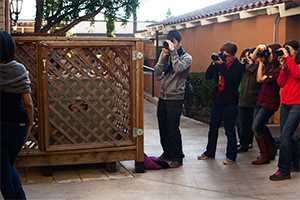
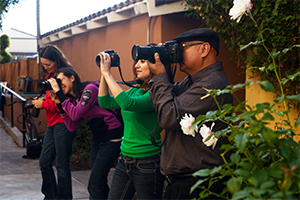
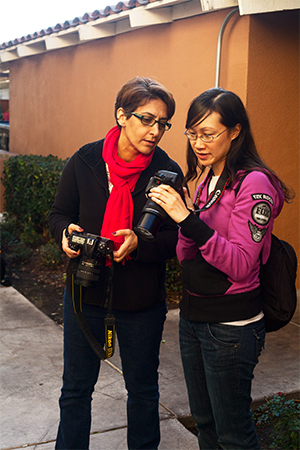
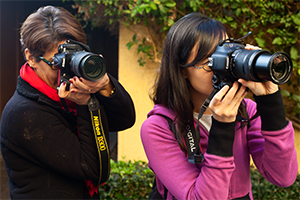
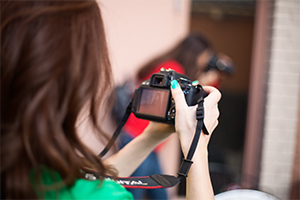
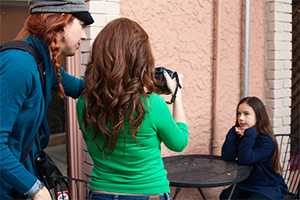
Each workshop started out placing our subjects in areas of open shade. We looked around the space in front of the gallery for places that didn’t have a distracting background. We made sure to set our apertures at the widest opening possible (or lowest f/stop number like 1.8, 2.8, 4). Ellie and I explained to the students that we do this when we are deciding how much we want in focus (we are choosing the depth of field, a shallow one to isolate our one subject or a wider one to keep more than one person in focus). It was nice to practice seeing the shallow depth of field with one subject – we pull the subject away from the wall or angle ourselves in a way that the subject is far enough from the interesting background behind her.
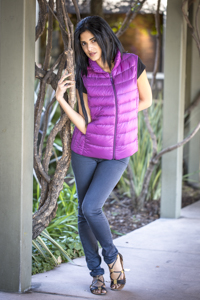
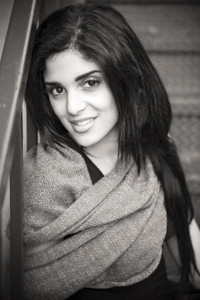
Many of the students were concerned with the unflattering raccoon eyes (weird shadows under the eyes, mouth and nose) that subjects get when out in the sun. Ellie and I were able to demonstrate that it isn’t necessarily about being out in the sun – it is the direction your subject is facing. If your subject has sun directly in their face, two things happen 1) they have those funky shadows that really ruin images, and 2) they can barely look at you – they squint because the sun is in their eyes. There was a quick and fun fix to this – place the sun behind your subjects instead of in front of them. This gives them a nice even light on their faces as well as a pretty rim light around their hair.
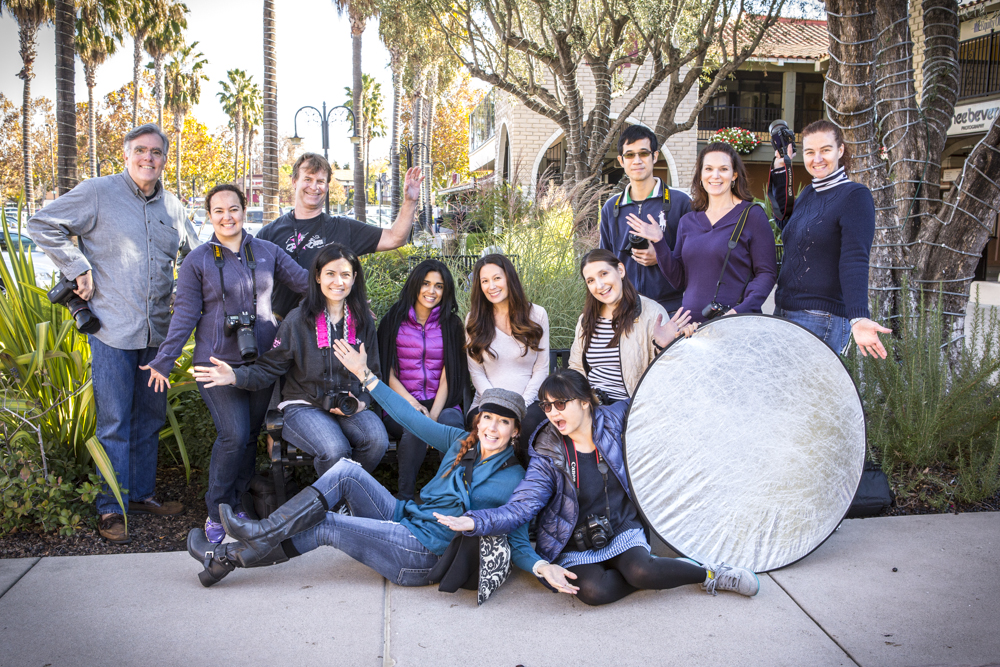
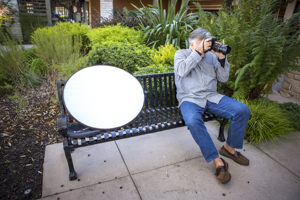
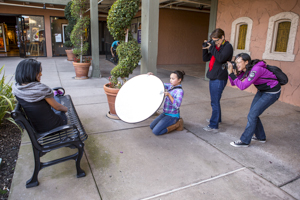
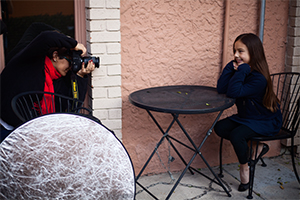
We were also able to use our 5-in-1 reflectors to add and fill light on our subject’s faces. The gold side really shows a difference but sometimes reflects too much of a warm orange tone on our subject’s face. It is best used near orange toned backgrounds to enhance the color or at a beach for a fun bronzing effect. The white and silver seemed to be a hit – filling enough light on our subject’s faces while keeping them looking natural and not harshly lit. A common question was – “What if I have to have a certain background but the sun is in my subject’s face?” We brought out the diffuser and had the sun go through it, creating a nice glow of even light on our subject.
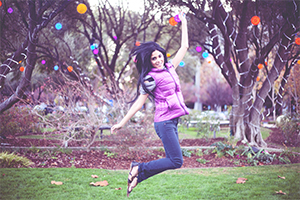
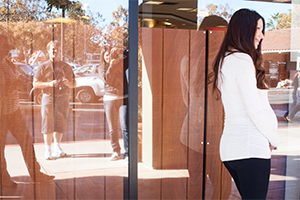
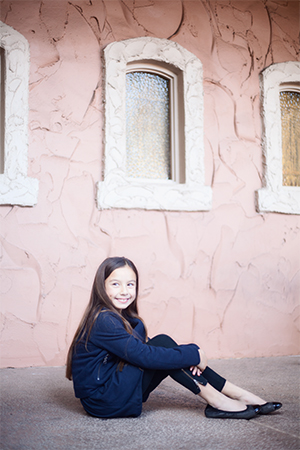
Looking for symmetry and repetition in background and subject’s pose was a simple way to elevate the way we shoot and create professional looking images. We decided on how important the repetition in the background was (windows, pillars, etc) and then decided of how much we wanted in focus. With the huger clunky windows, we decided to have only our subject and one window in focus, while letting the other windows in the image fall out of focus in depth of field. With the pillars, we angled our perspective in such a way that the subject and most of the pillars were aligned and in focus. We also played around with shooting with a subject’s reflection. It was nice to practice using the S Curve in our subject’s bodies. It provided an extra element of aesthetic to our images.
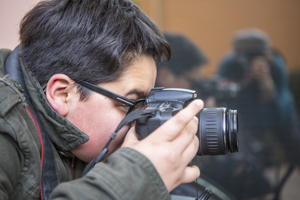
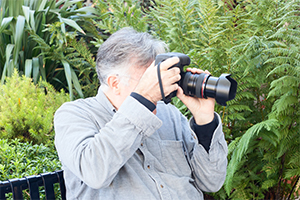
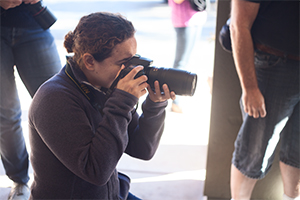
The workshops seemed to breeze by and it was fun to see how easy it is to really manipulate whatever light is available instead of going straight to flash photography (which needs just as much control as natural light). Ellie and I had a great time showing students how to read their light meter and just analyzing the light available, the background, and how their subject and subject’s poses fit with their background. It definitely was a great day to learn photography!
Until Next Time,
Ellie, Danielle and the rest of the Aperture Academy Team!
If you'd like to join us at one of our workshops, you can find the schedule/sign up here.
Leave & read comments below...
 |
 |
 |
 |
 |
 |
 |
 |
 |
 |
 |
 |
 |
 |
 |
 |
 |
 |
 |
 |
 |
 |
 |
 |
 |
 |
 |
 |
 |
 |
 |
 |
 |
 |
 |
 |
 |
 |
 |
 |
 |
 |
 |
 |
 |
|
 |
Other Cool Stuff→ Past Workshop Photos → 72dpi.com → How-To Articles → Photographer of the Month |
 |
Contact Us→ Contact Us → About Us → Site Map |
© 2009-2024 Aperture Academy, Inc.
