|
|
|||||
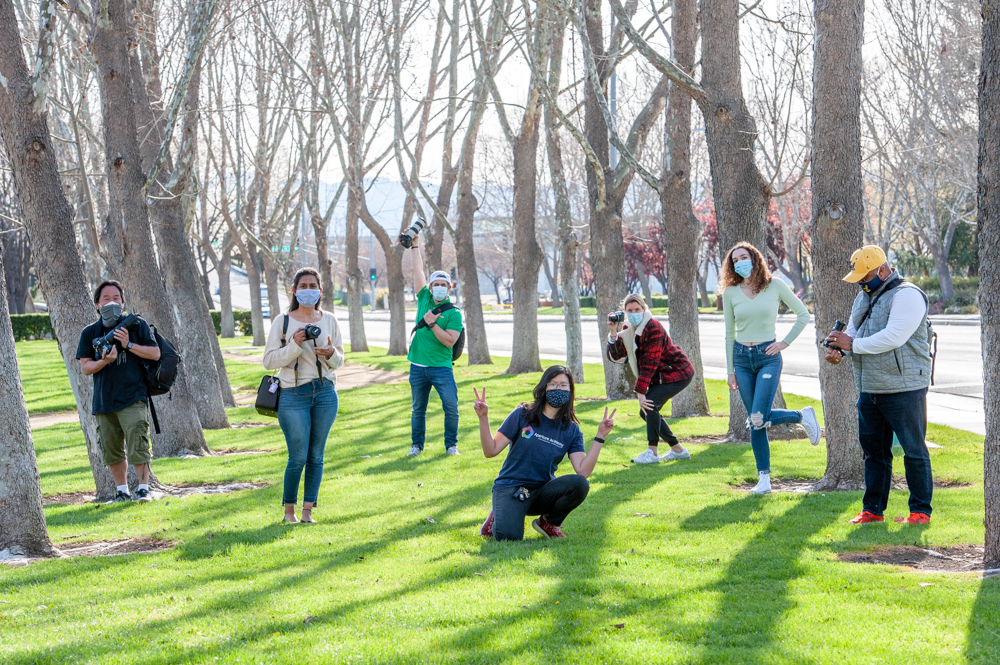
Aperture Academy's Natural Light Portrait Photography class is back! This past Sunday marked just a little over a year after the first shelter-in-place order. On a bright and sunny afternoon, five students and I took a journey through portrait photography. We started with a refresher of the basics: the exposure triangle and how it applies in portraits. We first focused our attention heavily on aperture as it controls depth of field, but also reviewed how it works in tandem with shutter speed and ISO. Afterwards we briefly touched upon lens choice, exposure compensation, and composition before heading out and putting these skills to practice.
We started off by doing some light tests with our model, Kayla. While having strong natural light is great for exposure, photographing during the middle of the day in the harsh sunlight can be problematic. It all comes down to understanding light direction and how to position the sun so that our model is indirectly lit. I had the students take headshots of Kayla in front lighting first. Immediately, Kayla started squinting with the sun shining directly into her eyes. One of the students commented on how her face was “really bright” as well. So next we tried side lighting. Now half of Kayla's face was in shadow––not the most flattering light. And finally, we tested backlighting. While it seems counterintuitive at first, back lighting provided a solution to the squinting and shadows, as there was no direct sunlight hitting Kayla's face. The only issue that might occur is an imbalance in exposure, which often occurs when the background is a lot brighter than the subject.
 This led us to the next skill to practice: using the telephoto lens to compress the image. The telephoto lens allows us to minimize what we see in the background in our portrait, which is also helpful when backlighting as we want to have a shaded background to even out that exposure. Using the telephoto lens, we photographed Kayla in front of an office building, targeting a dark wall as the background. Next, I tagged Kayla out to demonstrate the importance of having subjects tighten the jawline for headshots. While it can be a bit uncomfortable and awkward at first, the reward is worth the effort.
We headed across the street to practice framing next. Getting those natural frames and leading lines require the right perspective and adjusting our angles. In this case, we got at a lower angle, compressed a row of trees to act as a leading line, and used the negative space between trees to frame Kayla perfectly. Afterwards, we practiced using a diffuser to shade spotty lighting as well as the reflector to add both a fill light to the face and catch light in the eye. We ended the portrait session with some moving portraits of Kayla walking, focusing particularly on photographing in AF-C or AI Servo (Nikon and Canon respectively). The students practiced tracking Kayla with continuous focusing while she walked, skipped, and twirled for us.
Before we knew it, our time had come to an end. I was a little sad to see them go, especially after our Covid hiatus, but I know this group will continue to put the skills to practice.
Until next time,
Mary and the rest of the Aperture Academy Team!
If you'd like to join us at one of our workshops, you can find the schedule/sign up here.
 |
 |
 |
 |
 |
 |
 | |
|
 |
Other Cool Stuff→ Past Workshop Photos → 72dpi.com → How-To Articles → Photographer of the Month |
 |
Contact Us→ Contact Us → About Us → Site Map |
© 2009-2024 Aperture Academy, Inc.


