|
|
|||||
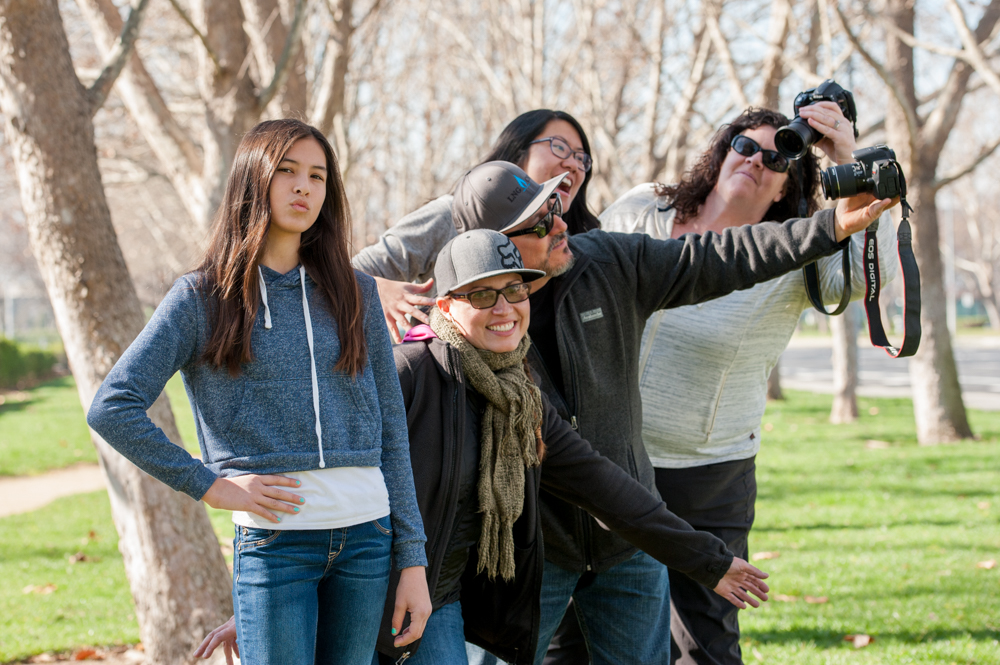
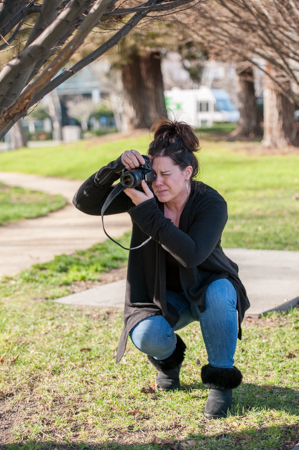
I often tell my students that photography is a simple medium that has evolved in complexity with the advancement of technology. Yet, at the same time, with the digital cameras these days, people think it is just as simple as pushing a button. Here at Aperture Academy, we strive for our students to not only appreciate how to take photos, but to understand and use their cameras better. I had the opportunity to do just that as the two small groups of students came fresh off the introductory course, ready to embark on practicing portrait photography.
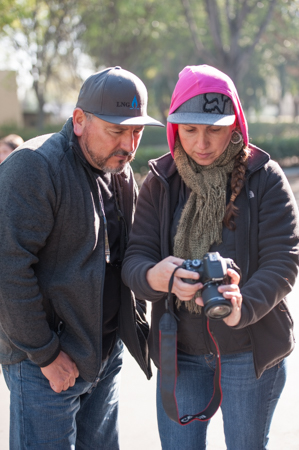
Through introductions, I learned right away that both groups were very new to working with their DSLRs. We spent a good amount of time going over the basics: exposure triangle, focusing, use of different lenses, composition, etc. Much to my surprise, everyone was engaged and asking relevant questions (remember my day job is teaching high school kids). Setting up that strong foundation of the basics eventually led to a successful outdoor session.
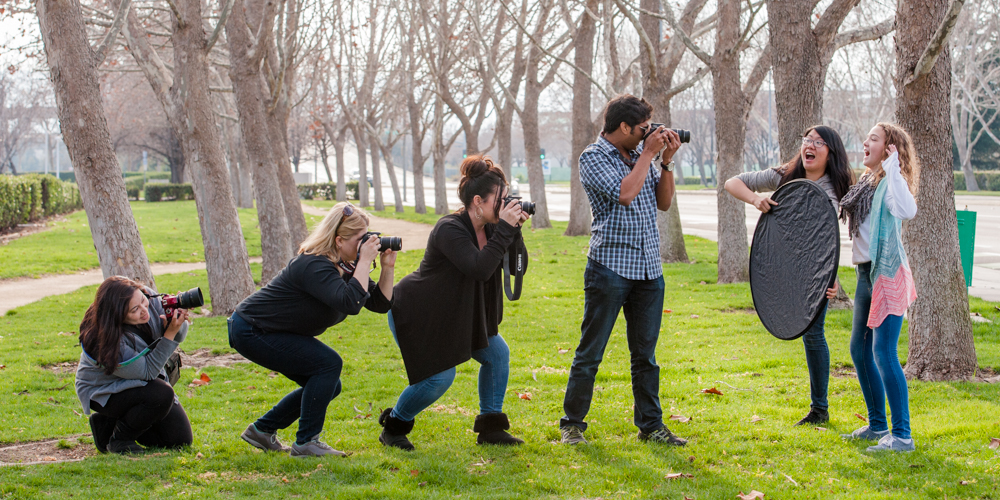
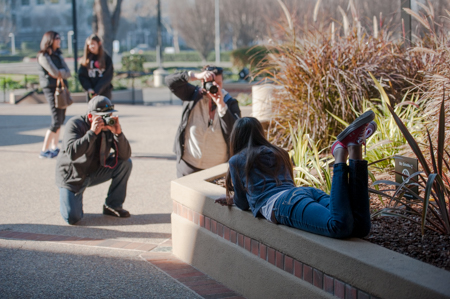
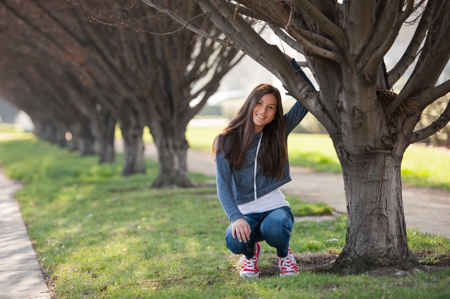
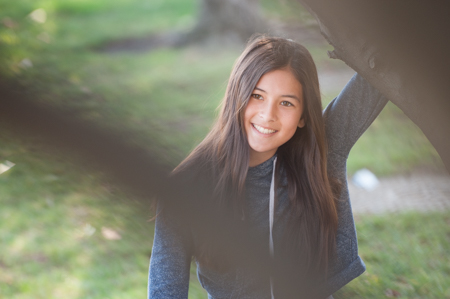
When we headed outdoors, we first analyzed light by doing a quick test. We had our model front lit by the sun, and everyone instantly recognized the problem: there were limited shadows, but our model was squinting. Maybe this wasn’t the way to go. Next, we tried side lighting. This ended up giving us the reverse problem of front lighting: she was no longer squinting, but there were harsh shadows on the face. Finally, we tried back lighting. At first, it didn’t seem ideal; some students underexposed the subject, and others got a very bright and hazy picture. But rather than just writing backlighting off, I had the students take a look at the positives: no shadows on the face and a nice rim light on the subject. It wasn’t bad considering we could actually fix the negatives.
We tackled each problem one at a time. First, why would the camera underexpose the subject? And even when we expose correctly for the subject, the background ends up being completely blown out. The simple solution is using that telephoto lens to frame the subject with a background that is also not in direct sunlight (same lighting as the subjects face). Next, the haziness—how do we get rid of it? Again, all it took was understanding the cause of the problem in the first place. Once I told the students it was caused by direct sunlight into the lens, everyone reached the conclusion that it could be prevented by just simply shading the lens from the sun.
While direct sunlight is never a photographer’s dream when it comes to portraits, it is always important to know how to deal with it. After all, we won’t always get to pick the time and place we shoot. The students continued practicing with backlighting and slowly started adding more techniques—using their telephoto lenses, finding that perfect angle, etc. And the remainder of the time, we reinforced the basics we learned during the indoor session: framing, focusing on the subject, and adjusting the settings accordingly.
As an instructor, I felt that it was one of the most successful classes simply because every student was at such a raw level and walked away not only with great images, but tremendous growth.
Until next time…from Mary and the rest of the Aperture Academy Team!
If you'd like to join us at one of our workshops, you can find the schedule/sign up here.
Leave & read comments below...
 |
 |
 |
 |
 |
 |
 |
 |
 |
 |
 |
 |
 |
 |
 |
 |
 |
 |
 |
 |
 |
 |
 |
|
 |
Other Cool Stuff→ Past Workshop Photos → 72dpi.com → How-To Articles → Photographer of the Month |
 |
Contact Us→ Contact Us → About Us → Site Map |
© 2009-2024 Aperture Academy, Inc.
