|
|
|||||
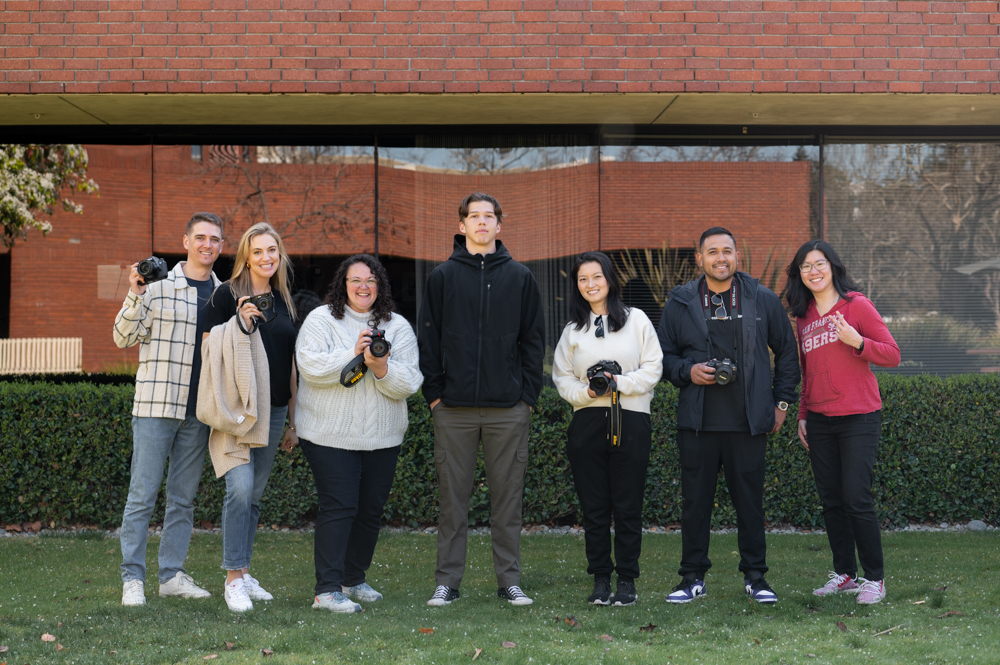
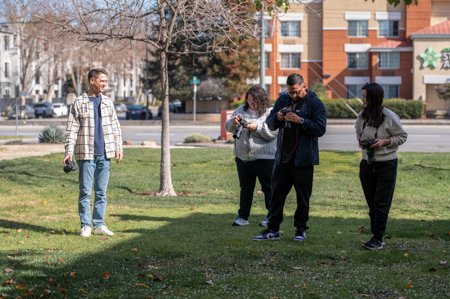
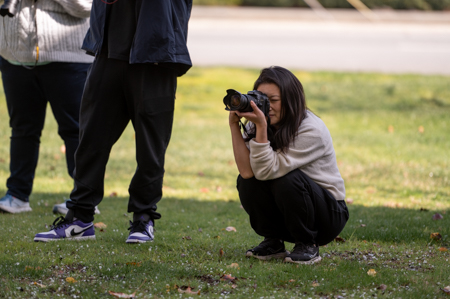
When it comes to learning photography, my philosophy has always been to first understand the simplicity of the camera. Technology has made taking photos easier and more accessible, but also a little more daunting, especially if you are looking at a digital SLR or mirrorless camera. When I first started, I had a lot of growing pains. All the different fractions and decimals in the camera confused me. Terminology like exposure or depth of field hit my ear like a foreign language. I made a lot of mistakes before I finally understood how I was manipulating a camera. My passion for teaching stems from my struggles as a student, and I was excited to teach a group of five individuals (who were new to photography) all that I’ve learned over the years.
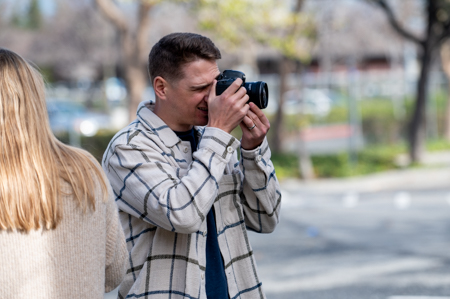
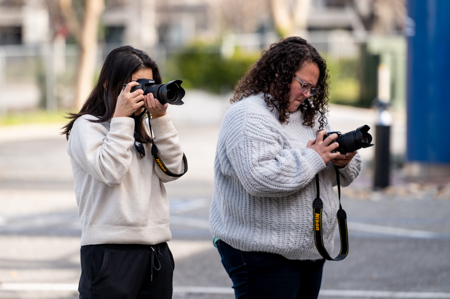
We started off with a basic foundations review. However, this time it wasn’t really a review because the exposure triangle was a brand new concept to everyone. We spent a little more time than usually going over ISO, aperture, and shutter speed and then moved onto lenses, focus, and composition. But none of it mattered until we put the skills to the test and went outside to photograph our model, Andon.
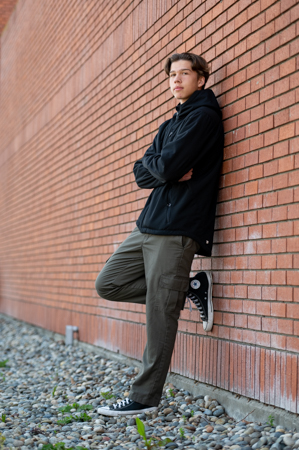
Once outside, we practiced four key components to portrait photography. First was finding the right light. Direct sunlight can be tricky at times. The key for beginners is taking the time to see how direct light can affect your subject’s face. Front lighting caused Andon to squint. Side lighting created unwanted shadows. Backlighting, however, created an even skin tone from the indirect light. The key was to use exposure compensation and find similarly exposed background to help the camera expose properly.
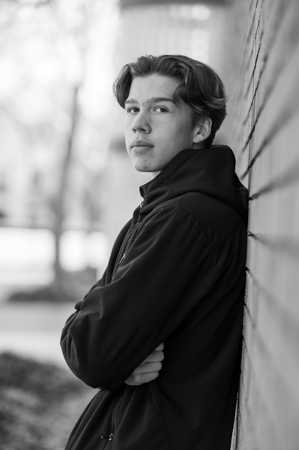
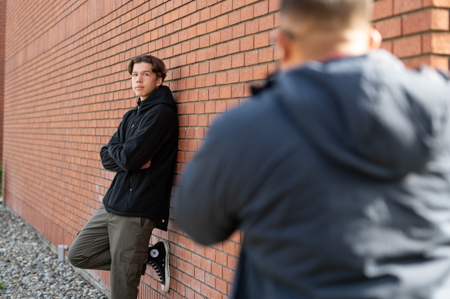
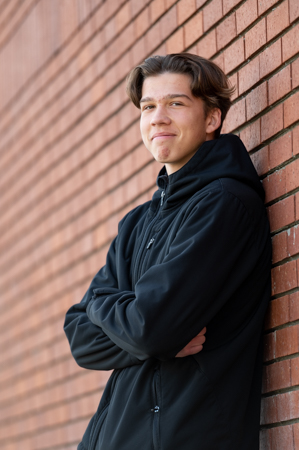
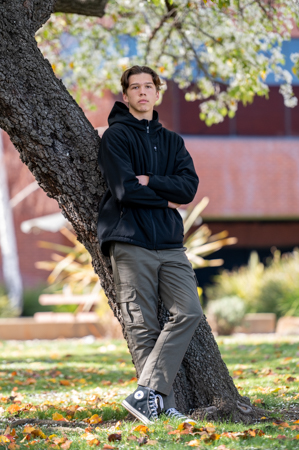 After finding soft light, we focused next on posing Andon. Getting him to lean against a wall or sit on a bench allowed him to relax a little, naturally shifting his weight. I demonstrated how the telephoto lens can really eliminate unwanted distractions in the background, and the students practiced using the equipment they had while changing their angles to get the shot they desired.
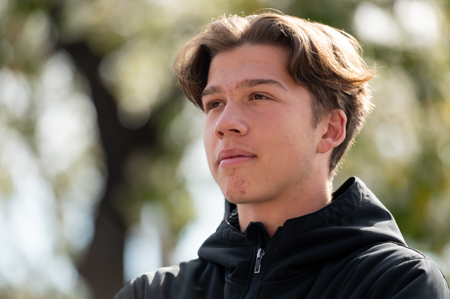
We moved on to headshots next, emphasizing the importance of tightening the jawline and then had Andon pose in front of a building. Even though our eyes can easily see an unattractive building entryway behind Andon, the camera’s range would not be able to pick up on the difference in exposure. In other words, once we exposed for Andon, that unattractive background became a nice black studio-like backdrop.
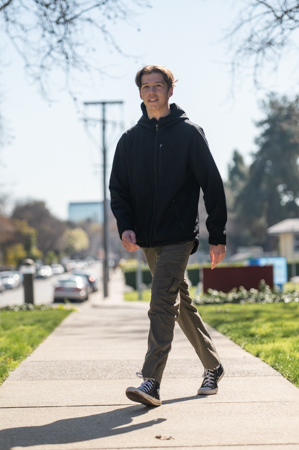
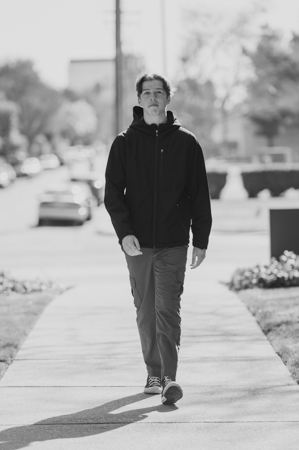
Finally we ended with some shots of Andon moving. Knowing when to change the autofocus mode is important when photographing portraits (or any event). We changed from AF-S or OneShot to AF-C or AI Servo so that our camera would continuously focus on the point we lock on to. As Andon was striding toward us, that point was locked on his face.
I know that learning photography is an upward climb at first, and it is easy to just give up and turn that dial to automatic. But I have full confidence that these students will continue to grow in their technical skills and love photography moving forward.
Until next time,
Mary and the rest of the Aperture Academy Team!
If you'd like to join us at one of our workshops, you can find the schedule/sign up here.
 |
 |
 |
 |
 |
 |
 |
 |
 |
 |
 |
 |
 |
 |
 | |
|
 |
Other Cool Stuff→ Past Workshop Photos → 72dpi.com → How-To Articles → Photographer of the Month |
 |
Contact Us→ Contact Us → About Us → Site Map |
© 2009-2024 Aperture Academy, Inc.
