|
|
|
|||||
Photographs are wonderful things. In capturing a single moment of time, they have the power to elicit emotion, spark imagination, and transport the viewer to another time and place. We have all seen breathtaking images of sweeping landscapes and awe-inspiring wildlife, but what about the small things? The pollen sacs on a bee's leg, the fine detail in a butterfly wing, or even just the abstract patterns in a simple piece of fruit. These are the subjects captured in macro photography! The world of macro photography is all about seeing the finest details and showing your viewer another way of looking at the world. It is a perspective that is challenging, expressive, and uniquely beautiful.
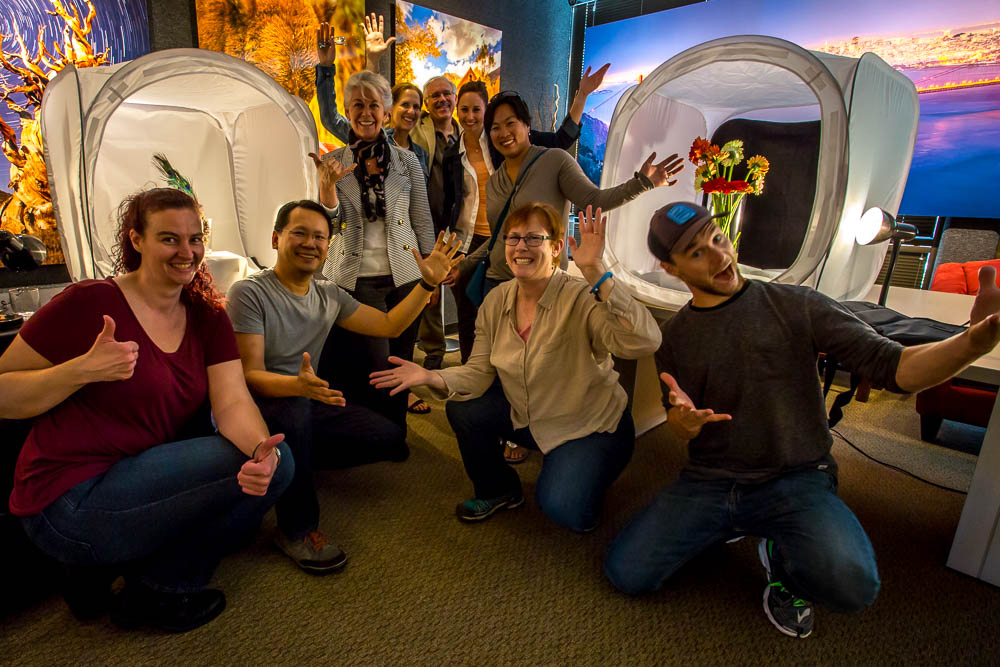
On a recent Saturday morning, Phillip Nicholas and I met with seven adventurous photographers at our Aperture Academy studio in San Jose, CA, to explore the wonderful world of Macro Photography. We had a great mix of new students and familiar faces, and everyone was excited to get started.
We started the day with some brief introductions so Phil and I could get to know our students a little better and find out what brought them to our workshop. It's also a fun way to find out what they hoped to learn from the day.
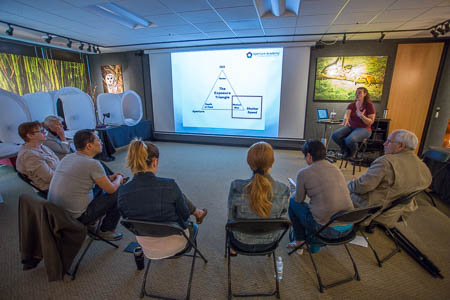
After the introductions were complete, it was time for a brief presentation introducing macro photography. I began by defining macro photography and comparing it to "close-up" photography. Then I introduced some of the types of equipment that is available, and talked about what characteristics make a macro lens unique. Next, I moved on to the more technical aspects involving the exposure triangle: aperture, ISO, and shutter speed. I spent a significant portion of time reviewing how depth of field impacts macro photography, which is important to understand because minor adjustments can make a big impact on the finished image. Finally, I reviewed some of the creative aspects of composition, reminding students that the use of leading lines, and rule of thirds principles, are just as important in macro photography as in any other genre.
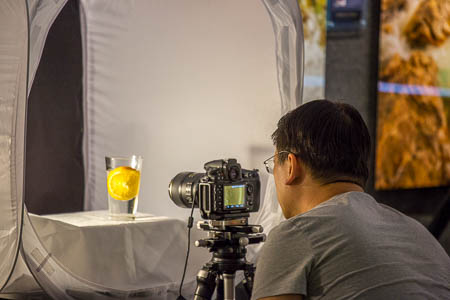
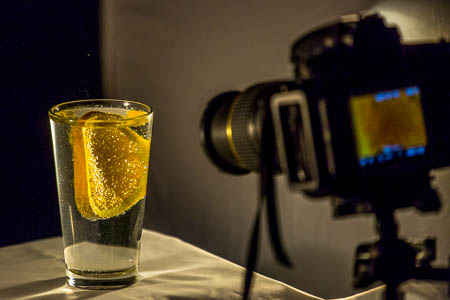
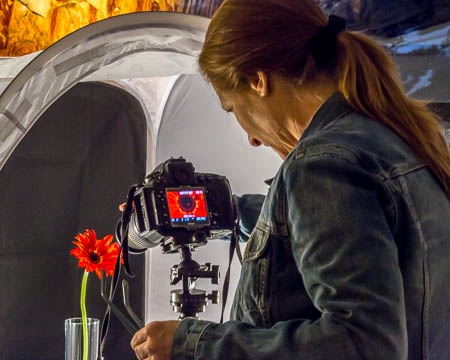
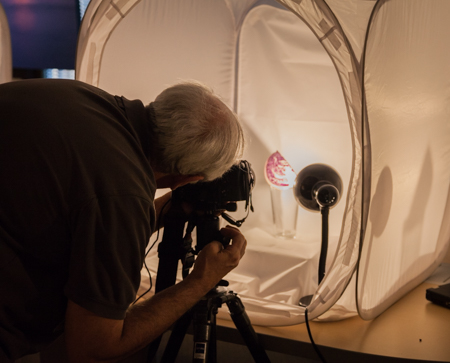
 With the basics covered, it was time to let the fun begin and start shooting. Each student set up their tripods and cameras at their own individual light stations. I described the three main subjects we would be working with and then Phil and I helped everyone get set up for the first round, and the fun began! Over the next two hours, we worked with each student to set up shots and explore different angles of their subjects. Sometimes photographers that are new to macro photography find that their creativity is challenged and it can be hard to "see" an image. This is where the workshop environment is so helpful. Phil and I helped our students look at the subjects differently. We suggested changing the light position to deepen shadows and make texture more prominent. We showed students how to adjust angles to help capture the character of the subject. The goal here was to push limits and try to showcase common objects in a new way and help students find subjects that they connect with to create stunning images.
A very useful technique for macro photographers to learn is that of focus-stacking. We often find ourselves in situations that require us to shoot in shallow depths of field, either due to lack of light, or because we want a certain softness or tone to our images. Under those conditions, it can be difficult to get an image that is crisp and sharp all the way through and we end up with images that are sharp in some areas but not others. This challenge can be overcome by focus-stacking images. This technique involves taking a series of several images, each one with a different plane of the image in focus, so that when "stacked" in Photoshop, you get one image that is sharp all the way through. Phil and I worked with each student to get their series of images that we could "stack" later during processing.
After we had gone through each of the planned subjects, we still had a little time before lunch break, so I told everyone it was time for "recess" and that they could pick their own subject and let their creativity loose! It was really fun to see what everyone picked and connected to. Some went back to the flowers to try other angles, while other students picked peacock feathers, or pine cones, or purple cabbage! Phil and I continued to work with everyone to help them capture their vision and it was clear that the concepts were becoming more familiar.
Soon it was time to break for lunch and while our students went off in search of something yummy to eat, Phil and I transformed the studio into the processing lab, complete with workstations for everyone.
After lunch, everyone settled around the table and quickly got to importing their images into Lightroom so that we could see the results of the morning's efforts.
The processing portion of our workshop starts with how to review and select favorite images in the Lightroom Library module. Then, we moved to the Develop module, where Phil and I covered how to crop an image, adjust exposure, contrast and white balance. Next, we showed how to sharpen an image and add some slight vignetting, just to emphasize the focal point of an image. Finally, we covered how to export their finished images, highlighting the settings designed for either web posting or printing.
We had made quite a bit of progress, but there was something still missing.... Oh yeah! We still hadn't done anything with the images we prepared for stacking.
For our big finale, Phil and I showed our students how to select those images and open them in Photoshop layers to align and blend for a final image that is sharp and crisp edge to edge. The final results were really wonderful to see! This is a technique that takes some practice, but now our students had one more impressive tool in their photographic tool bags.
We spent a bit more time addressing specific questions, but all too soon our time had come to an end. After one final thank you to our students for letting us share their day, Phil and I said farewell, and sent them on their way to enjoy their new-found macro photography skills.
Until next time,
DeAnna, Phil, and the rest of the Aperture Academy team!
P.S. If you'd like to join us at one of our workshops, you can find the schedule/sign up here.
 |
 |
 |
 |
 |
 |
 |
 |
 |
 |
 |
 |
|
 |
Other Cool Stuff→ Past Workshop Photos → 72dpi.com → How-To Articles → Photographer of the Month |
|
Contact Us→ Contact Us → About Us → Site Map |
© 2009-2024 Aperture Academy, Inc.