|
|
|
|||||

Perfect Portraits and Processing: while a photo is rarely “perfect,” it is a fitting title for our workshop that focuses on how to improve taking portraits outdoors as well as how to optimize the images further in Lightroom. This past Sunday, I met with eight students at Aperture Academy to enhance their skills on the art of portrait photography. Like every good lesson, we started indoors with a basic review of the camera.
This group was on it from the start! Each student already had a strong grasp of the fundamentals, some from having professional photography experience of their own, and some who (much to my delight) continued practicing after taking the Natural Light course. Needless to say, we did not have to review much on the exposure triangle.
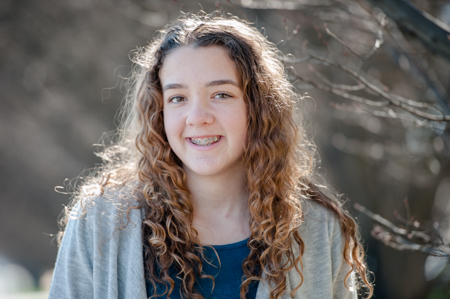
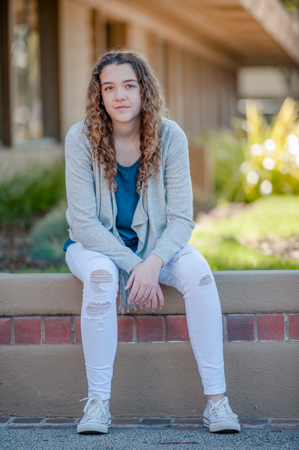
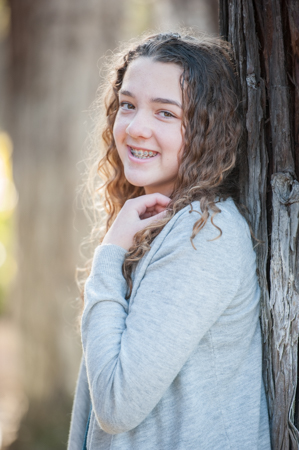
After the quick review, we were off to photograph outdoors with our model, Kayla. Our first focus was lighting, and after doing a quick light test in direct sunlight, our students could see the difference the position of the sun makes. Harsh lighting caused by direct sunlight is never ideal, but when we understand how to manipulate it, it can work in our favor. Of all the positions, backlighting our subject gave the most even and soft light on Kayla's face, and also created a nice rim light that accentuated her hair.
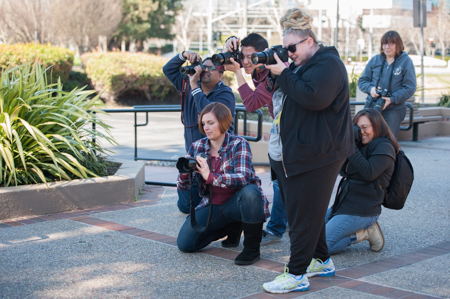
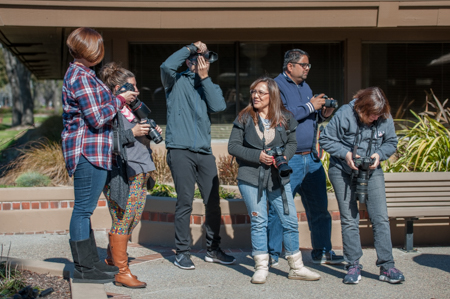
 So that was our first goal: look for soft light. If there was no shade to be found, then position the subject so the sun was behind them. I gave the students a couple different areas to work with, and they jumped right in. Instead of waiting for me to direct Kayla, a couple of them took initiative and gave her direction on poses and positioning. It was refreshing to see the ideas and different angles everyone came up with—especially when they each were able to get a successful image with a different composition. We continued framing the subject with natural elements around us, and I demonstrated how understanding the technical aspects of your camera can lead to a more creative photograph. In order to photograph Kayla crouching next to a tree, we all had to crouch for a lower angle as well. But what if we wanted an extremely low angle from the ground? We could lay on the ground, but it would still be difficult to focus through the viewfinder. What if we let the camera do the focusing for us? It is one of the only times I use auto-area mode, but by doing so, I could set my camera to the ground and shoot without having to worry about focus. Since Kayla is the closest subject, the camera will automatically pick her up.
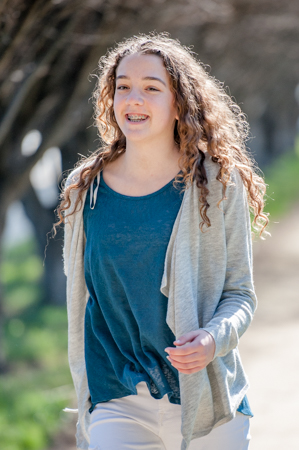
Before I knew it, we were finishing up the shoot with some movement shots. After our group picture, we headed back inside, began our upload in Lightroom, and then started our lunch break. When the students returned, that's when the fun began! While you must always try and take the best image possible in camera, there's a very satisfying feeling when you edit an image afterward to optimize it further. Lightroom is the perfect tool for that. We went over the basics first, especially workflow—how to import, view, and rate images. After, we were able to concentrate on just a select few rather than scrolling through hundreds.
 Lightroom's sync is probably the most helping feature, as it allows us to edit one image, and apply those edits on other images with just a click of a button. I wasted no time demonstrating the sync with an edit that I apply to all photos: lens correction. Lens correction can fix the distortion caused by the lens, and it is an easy example of how to adjust it on all photos quickly using the sync. We then continued with basic edits: properly adjusting white balance, shadows, highlights, and contrast.
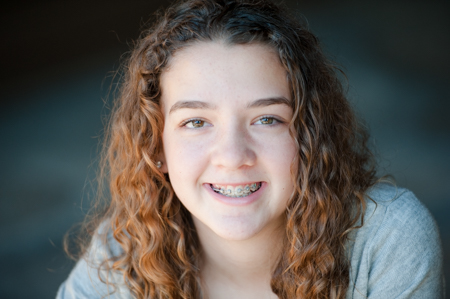
While the tonal curve is not part of the basic adjustments, it can be used to make slight adjustments in tone, and also to create a fade effect—a popular style that fades the shadows and highlights of your image. After we finished editing the image, we moved on to local adjustments using masking to target specific parts of the image. For example, by using the soften skin preset, we were able to soften only the skin without losing detail on the eyes and lips. The same can be said to whiten teeth and enhance eye color.
We ended with properly exporting our images out of Lightroom, and that was a wrap—a full day of shooting, downloading, editing, and finalizing—a complete workflow of portrait photography from start to finish!
Until next time,
Mary and the rest of the Aperture Academy Team
If you'd like to join us at one of our workshops, you can find the schedule/sign up here.
 |
 |
 |
 |
 |
 |
 |
 |
 |
 |
|
 |
Other Cool Stuff→ Past Workshop Photos → 72dpi.com → How-To Articles → Photographer of the Month |
|
Contact Us→ Contact Us → About Us → Site Map |
© 2009-2024 Aperture Academy, Inc.